The digital workflow with the Rayplicker solution
Mr Eric Berger
France
In November 2020, dental technician and speaker Eric Berger held a 4-hour video conference masterclass around the world, during which he presented the Rayplicker solution, perfectly integrated into his digital workflow.
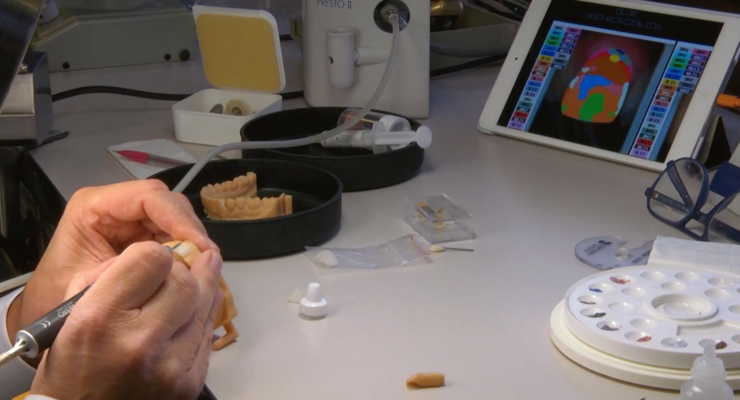
During his masterclass, Eric Berger showed the manufacturing process of a prosthesis from A to Z: from the shade taking to the final rendering, through the preparation and the machining.
In the following 5 videos, you will discover his work and his advice for a perfect prosthesis.
Episode 1 : Shade taking and data download
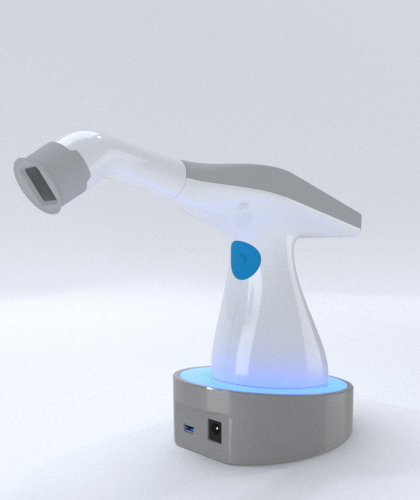
In this episode, you will learn how to use the Rayplicker Handy and the advantages compared to other shade-taking methods.
The spectrophotometer is the indispensable tool for the aesthetic realization of anterior cases.
Episode 2 : A good picture for a good smile simulation
Eric Berger explains why it is important to take a good picture of your patient's natural smile. In a second step, he also shows you how to proceed with the camera, by revealing his secrets of success.
Episode 3 : Understanding shades, 2D and 3D / CAD processs preparation
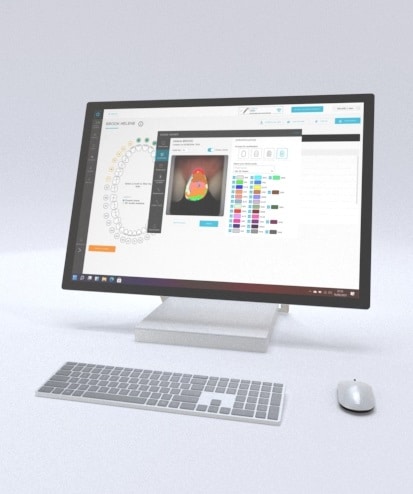
With the 3D Smile Design software and the Rayplicker software, Eric Berger explains how to understand the data collected in order to prepare the milling process of the prosthesis. This includes both the aesthetic data obtained with the Rayplicker and the simulation of the smile with the Exocad software.
Thanks to the performance and precision of Rayplicker software, the characteristics of the shade can be segmented in order to be reproduced, either by staining or by layering.
Episode 4 : Choose the right block material
Eric Berger reveals how he makes his prosthesis from a CAD/CAM block and milling machine. As he points out, the choice of CAD/CAM block is essential for the quality of the prosthesis.
Furthermore, he notes the importance of the spectrophotometer in collecting enough esthetic data for this process.
You will learn that, according to him, a knowledge of CAD/CAM blocks is essential to understand the effects that we want to obtain after the milling process.
Episode 5 : Stains technique and mechanical polishing
In this latest episode, Eric Berger shows you how he stains the tooth. He also teaches you how to interpret the Rayplicker software to easily make process.
He also gives you his tips on how to reproduce a realistic surface on the prosthesis according to the patient. You will be able to observe how to polish the final prosthesis properly and simply.
Finally, you can admire the final result on the patient's mouth.

The Rayplicker is part of my daily essential protocol.
Eric Berger

If you cannot see the videos correctly here, you can directly click on this link.